Post by Admin on Oct 1st, 2004 at 2:49am
How to use and make CERA COLLA Emulsified WAX.
http://www.realcolorwheel.com/ceracolla.htm
12"12" on tile.
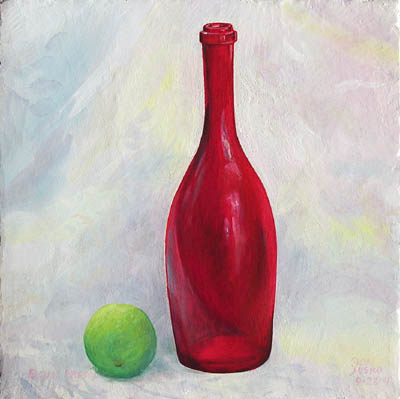
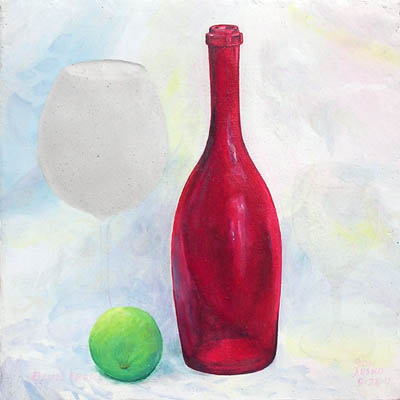
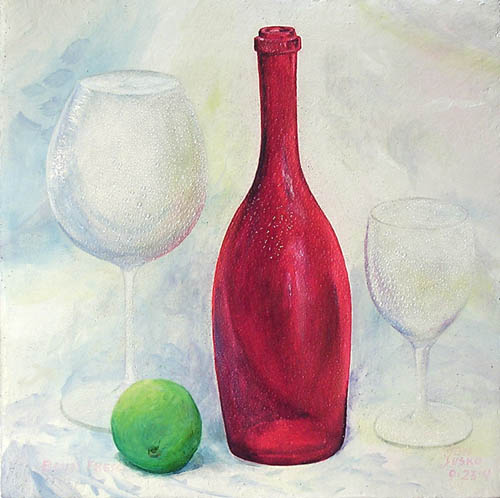
The first image is the buon fresco. http://www.realcolorwheel.com/frescopaintings7.htm
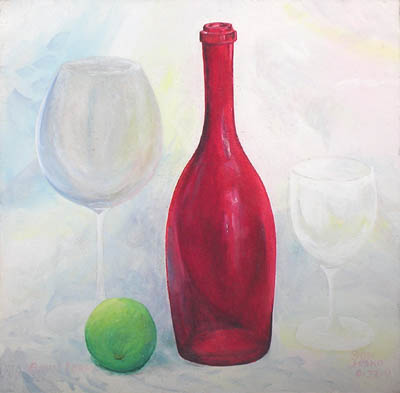
The background, red bottle, lime and and added large goblet are buon fresco. The added small wine glass is just cera colla medium. For color I add dry pigment.
Cara colla emulsified wax has a very matt finish before buffing. Cera colla and turpentine will shine with just your brush while your applying it. It's hard to believe how easily the shine is applied, and how high it buffs up. It shines like a gloss ceramic glaze. I can see why cera colla was a very popular medium for a long time. I can also trowel on wax and pigment to build up areas. I have been keeping the emulsion balance to the turpentine side on the big goblet and ammonia on the small glass. All this work was done after the first photo.
TIP: Add paint and color with ammonia, remove paint with water.
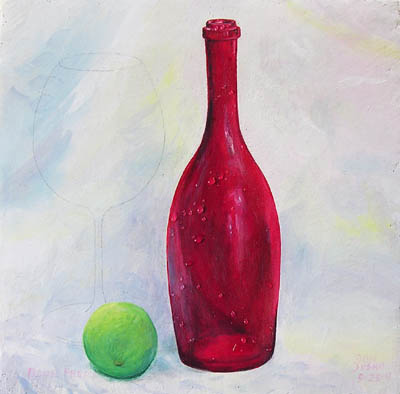
I also want to try repairing. I drew another glass on the left with pencil, it erases very easily off the fresco and nothing moves. It was washed this morning and all colors had absorbed beautifully. I want to cut out the new glasses outline and lay new intonaco, maybe even shape it in bas relief.
Cadmium red would not have given me this brilliance in the Red Bottle. Thioindigoid red PR88 (same as Grumbacher Red) is the better choice in all media.
Two days later I decided to do more, I'll gloss the bottle with Cera Colla, (go here to make cera colla)
http://www.realcolorwheel.com/ceracolla.htm
Cera colla bees wax water based medium, then add another glass painted in cera colla mixed with pigment.
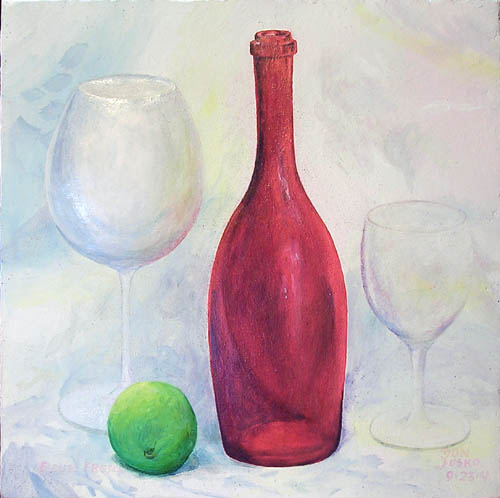
9-25-0. The glass is drawn in, the wine bottle got it's first coat of cera colla. In the morning I'll soak it and start chipping away at the glass area of the intonaco. The applied cera colla media looks milky tonight.
9-26-4. It still looked milky in the morning so I put some more on and laid it in the sun. Hmm.. It's still milky in areas, it's going to take more buffing heat. Instead I added some turpentine to the cera colla. This was a better answer, the wax stayed transparent. The turpentine can be glazed over the top or added to the emulsified cera colla.
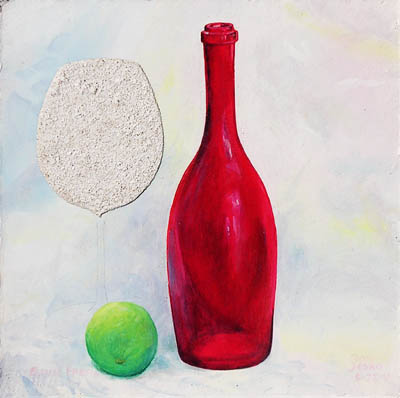
I shot the picture, soaked the panel and started removing the intonaco for the glass. Lime hardens from the top and this one is already getting a hard crust that has a slight sheen. Under the crust the mortar is easy to remove.
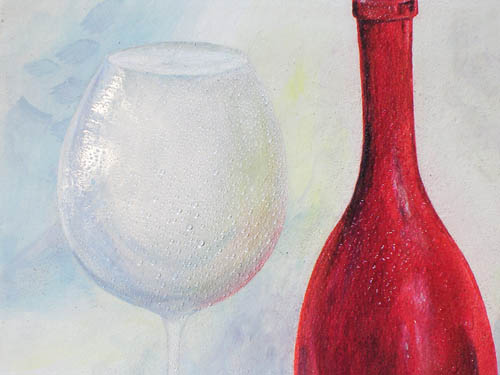
The first picture is the buon fresco. The second shows the glass pencil drawing and water beading on the cera colla.
9-27-4, 9:00, started by submerging the tile a 1/2 hour while making the intonaco of 1:1 lime and crushed white marble. A moist slip coat applied with a bristle brush to get good adhesion to the layer below.
11:28. Finished laying glass giornate. The thickest part of the glass bass-relief is 1/8 inch higher than the original intonaco. I applied enough pressure to decrease the amount of still watery lime in the mortar. This top slip should be removed. The longer you wait before adding pressure the less slip will come to the surface.
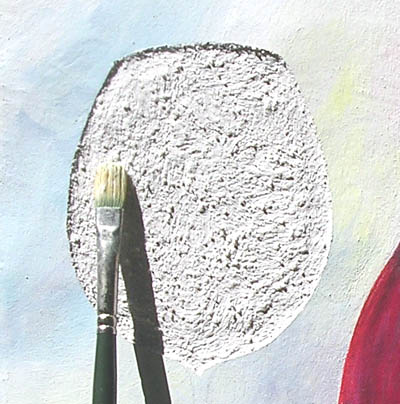
The picture below shows the cut-out giornate down to the brown coat in full sunlight with no reflection off the bottle. Then the loose intonaco slip coat applied with a bristle brush.
12:24. Finished painting large wine glass giornate.
4:00. I Re-pressed, re-troweled over the glass area, I pressed so hard the mortar's gloss is shinier then the wax on the bottle, to which I'll build smoother. This is the glossy fresco of old. It will still accept pigment after the hard glossy pressing. It's like you have backed-up and re-set the mortar. It works for painting on it the next day also, I'm proving this in the test below. A damp sponge instead of a trowel will do the job but leaves a rougher surface. What's happening is the harder calcium carbonate is being either absorbed below by pressure or removed from the top with water. Laid intonaco can stay untouched for a long time because the crust holds in moisture. At the bottom of this page is last night's test on this subject.
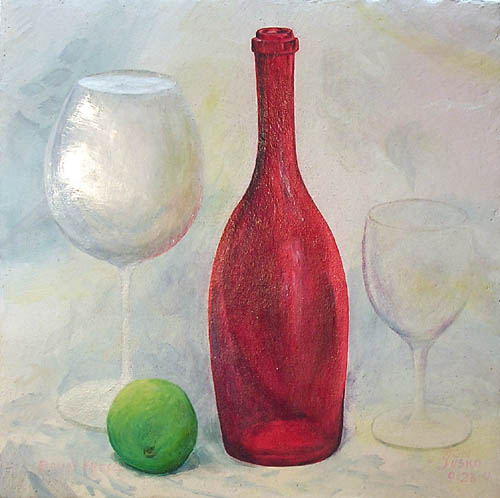
Bass-relief goblet, cera colla small wine glass.
Goblet in buon fresco and small glass cera colla painted in.
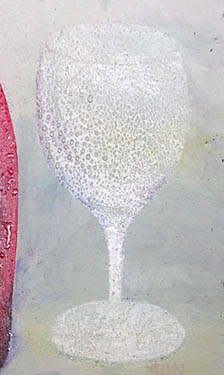
Goblet, Red Bottle, Lime and Small Wine Glass painted in shiny Cera Colla.The large stem and small glass are cera colla and pigment on buon fresco. Only the lime and background are free of glossy cera colla.
It's in the way the light shines on it from different angles that make the rounded goblet look 3- dimensional.
Cera colla is decorative and protective against dirt, water and mold, that's great for bathroom frescos.
Look how the water beads and how reflecting light can make the small glass stand out.
12:00. I laid intonaco on an 8"x8" tile using 2:1, 2 sm. sand and white crushed limestone to 1 lime, one layer only. Tile, with it's fired gloss on the bottom and sides holds water very well.
One layer includes a loose intonaco slip coat
6:00PM. For the first time I wet it down with lime water. There was already a crust on top that caused water to bead, I kept spraying until I had a layer of lime water.
8:30. sprayed it again.
I'll pressure trowel half of it later when the sheen is gone, the other half will stay untouched until morning.
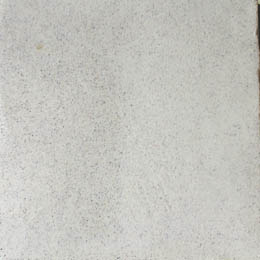
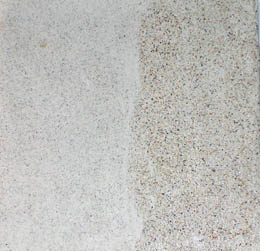
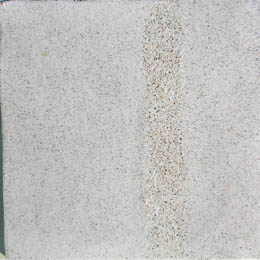
9-29-4, 10:00 AM. You can see the different darker side pressed side. I'm going to wet the tile, wipe off the crust and the top layer of lime off the untouched side. Then press it to bring up some lime back to the surface again. I left a wiped off area to compare both pressed sides. All three sections are ready to paint but the quality of the finished surface is different.
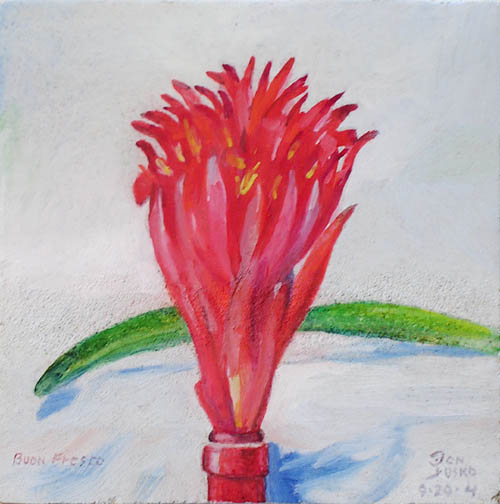
10:30 to 11:40 painting the flower and leaf. The painting goes right through the unpressed stripe. Just now I used a painting knife to press the leaf flat and edges of the flower petals.
12:00. Spray it and I'm finished. In two days I'll wash it good. This will show how easy it is to lay it one day and paint it in the next. In another test I floated the thin carbonate film off the tiled fresco completely, leaving it ready to paint. It took 10 minutes of soaking and a little gentle shifting of the water while brushing lightly with a feather underwater. It's a lot easier to just wet it until it absorbs and trowel the crust in.
PREVIOUS FRESCO PAINTING PAGE,
Fresco Paintings page 7
Learn how to use and make CERA COLLA.
http://www.realcolorwheel.com/ceracolla.htm
A list of important course subject links.
| Site Tree list of all links
| Real Color Wheel Course
| Painting Tips Gallery #1, of 6
| 1st of 200 paintings with tips
| W/C Paintings on Location
| Acrylic Paintings on Location
| Alkyd Paintings on Location
| Painting with alkyd
| Oil Paintings on Location
| Fresco paintings on location
| Children Learning Primary Color
| Lineal Perspective
| Aerial Perspective
| Aerial Perspective Palette
| Pictura Translucida, lost media of the Dark Ages
| Cera Cola, Lost Media of Ancient Egypt
| Painting Waves
