Bird of Paradise, 3-5-4, First Fresco Painting
03-01-04, Board intonaco test 1. The small limestone first section looked the best while I was painting. None of the sections have any cracks but I would like to try a little higher percent of aggregate, maybe 1.25 to make the intonaco a little dryer as it is still soft at 5:00. I should have put the blob of lime putty on a paper towel to absorb all the outside clinging water. The quantity of lime for this test was so small that the little extra water meant something to the total consistency. The smallest grit is the hardest right now. Making the mortar harder will shorten the absorption time but make the painting a lot easier. Day 2, It's still raining out this morning and the mortar is not real hard, tomorrow should be the real test time. No cracks! Scrubbing the lower mortar layer did it, that plus soaking it in limewater. Day 6, all the viridian colored dots are locked in, no cracks. 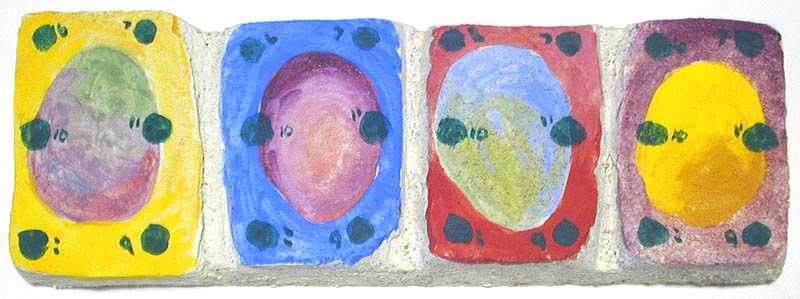 6:30 PM, Intonaco made with finely sifted limestone and lime made as dry as possible and blotted on paper towels, 1:1, troweled on a scrubbed rough coat with large sand and lime 1:1. Side 1 has rabbit skin glue added to the mortar, side 2 is plain.
9:00 AM, a few hairline cracks. I don't know what that's all about, the same mortar in the 03-01-04 test of different aggregates is doing fine. I'm not positive yet, but maybe 2:00 was the end. I thought 2:00 applied well, maybe it was just so close to the end all the pigment didn't sink in far enough and left some on the top. I'll know for sure tomorrow. the only difference was the rough coat was a little thicker. I've learned the intonaco can't be more any more then 1/8th inch thick. 3-6-4, 2:00 AM was the last test stroke that locked in on both sides. Five and a half hours painting time. More time then with sand in the intonaco. 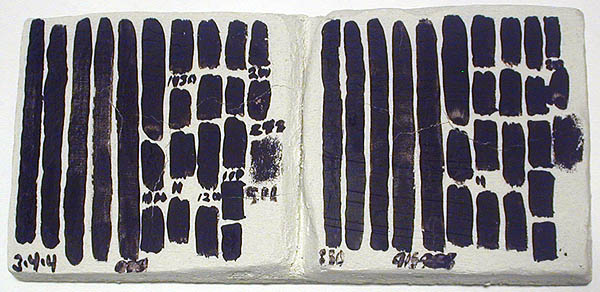
Board Z2, intonaco on 2:00
3:00, Painting. It's slow to absorb at the start while the mortar is soft, soft enough for the softest brush to make a mark. It takes about 5 minutes for the sprayed color and shine to dissipate. As the absorption time decreases the mortar gets harder. I'm using an air brush for the background, it takes many passes. I think it would have been faster with a big brush loaded and used during the later faster absorption period. That was a first thought.. More spraying as time went on made a very nice background. 4:20, I was painting the "Bird of Paradise". Our neighbor down the street has a whole clump growing. No drawing, just painting the flower with sure strokes. By 5:50 blending was fun and I could see light at the end of the tunnel. I know I have another 2 hours of absorption time and I'm just floating along. I can't tell the difference between the rabbit glue side and the adhesive/binder side, it's written on the back but there is no need to look. I hope neither side cracks. I'll know in 2 days. Neither side cracked but neither additive is needed. 6:15, Finished, Pigment colors: Titanium White, naples Yellow, Viridian Extra warm side, Cadmium Orange, Cobalt Blue Light, Quinacridone Red, Thalo Blue. 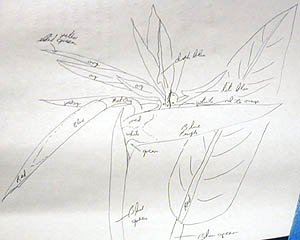 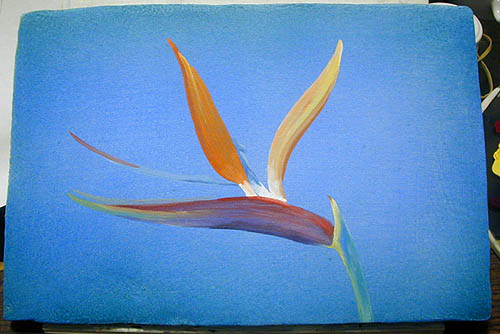 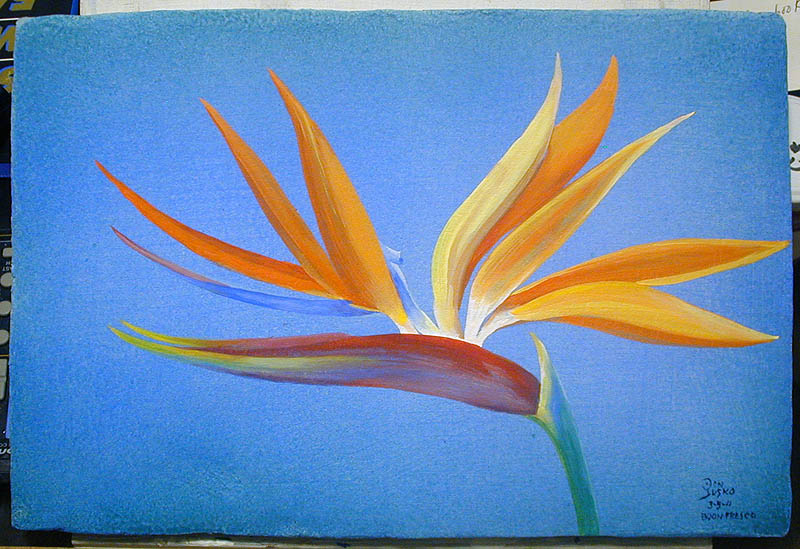 |