|
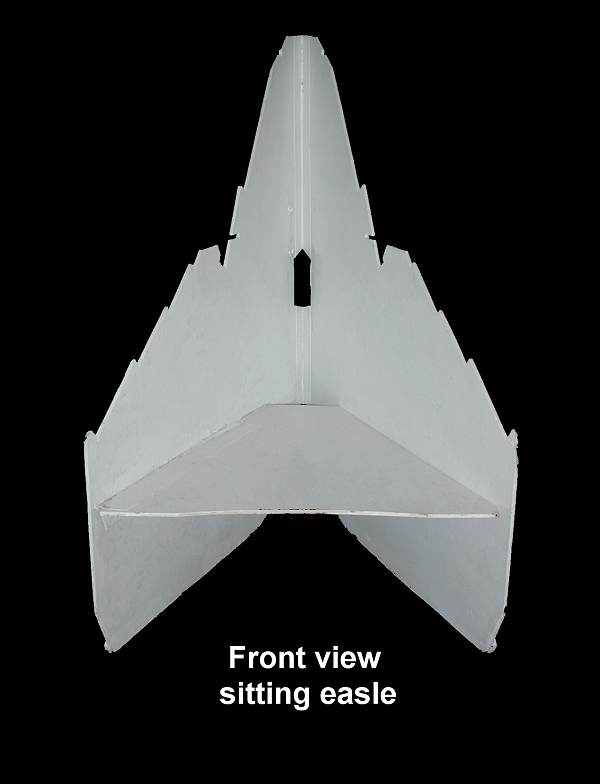
This is how I made my sitting easel. It had to be light and hold any size support panel.
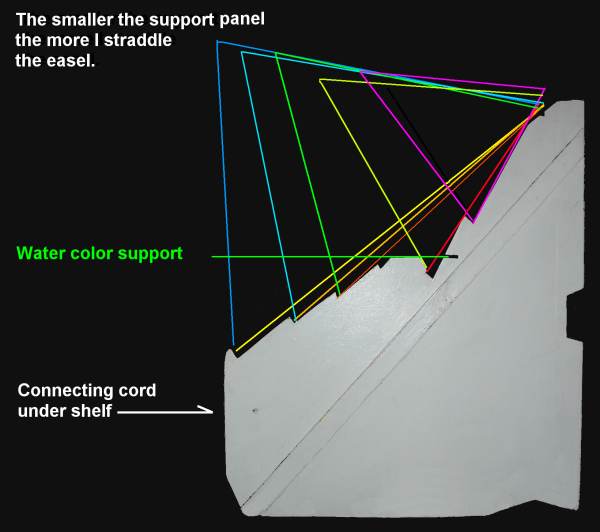
The wood is 1/4 " plywood, held together at the back with a heavy cloth glued to both halves while the pieces were closed together in their traveling position. When opened a cord is in place holding the panels the same distance apart as the shelf is wide, xx inches. On the outside is another 1/4" x 1" board glued at a diagonal, this gives rigidity to the easel. The shelf is cut after the open distance is decided on. Cut 3 inches off the back of the shelf so it closes flat. The shelf is held in place with a cloth hinge glued on both the top and bottom of the shelf. Glue the top hinge on first, fold it up and add the second cloth hinge. Use an alphtic resin woodworkers glue, the yellow kind not the white. To cut the notches in the side panels start with a curve that's radius is centered at the location of your eyes while you are sitting in your permanent location chair. Make notches for each size support panel or stretched canvas. Any where on the curve should hold the support so the top and bottom are equal distances from your eyes. Plan to paint your selected scene directly above your canvas.
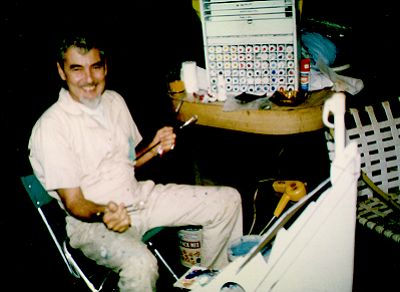
Here is the oldest picture of the easel I have, probably 1990.
 This is a few years later, 1999 with salt and pepper hair. Today, 2013, it's white. But the easel and the paint box look the same. 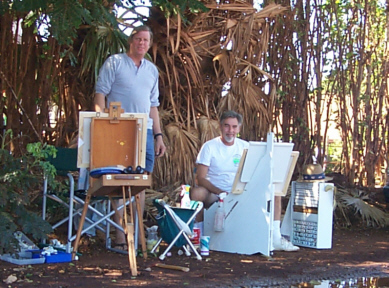  |