| Page #4 of 4, Giornate #12
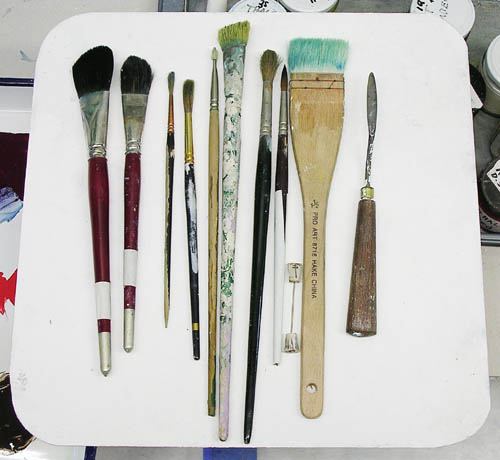
These are the brushes I have been using. The black wash brushes are for dark pigments. The next two are Series 167 sable round ferrule flat end, a #16, 5/16 inch wide Langnickle and a 3/32 inch wide #6 Langnickle, they are both sign painters brushes. Two hog bristle brushes that can work into the surface with lime, a 1/4 inch long and a 3/4 inch bright. Two sable round ferrule pointed end w/c brushes, a Series 7, #9 W/N and a Series 3A, #7. There is also a #6 Series 7, W/N that I forgot to add, it holds a lot of paint and has a long point. A sewing needle for popping bubbles, a 10" feather to brush sand. A goat hair, 1 1/2 inch Hike brush and a couple of painting knives.
TIP: When applying dark or full colors with the wash or hike brushes, don't thin the color farther with limewater only, add titanium white so you have an opaque paint the color you want. Thin washes of color will disappear when dry.
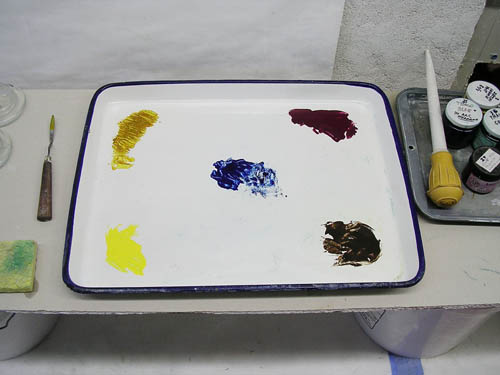
A 14x18 butchers tray. The basic transparent Real Color Wheel palette, PY150 Nickel complex Indian yellow Br/s, Burnt Umber which is dark yellow. PR122 magenta and PB15 cyan. There is also a smaller tray with just titanium white spread out to dry and an area for lime paste. I use this tray for tints, moving the color over from the main palette and mixing it with lime, or lime and white or just white pigment. Depending on what stage the intonaco is at. While it's absorbing I only need the white pigment. Big light areas like the sky get the color pigment mixed with lime first, than white pigment is added to bring it up to the needed tint. Just lime can be worked into any moist applied color, if it's already dry it can be scrubbed on to break the crust and painted any color.
Here is my fresh palette.
Giornate #12, 7-24-4
12:30, Slip coat on and adding the intonaco.
2:55, Intonaco finished.
3:45, Giornate #12 finished with the hike and fitch brushes. I'll let it set awhile and come in with a #9 pointed round for a few minutes, photo while wet.
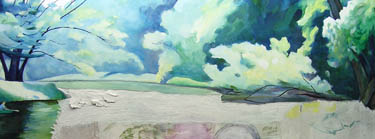 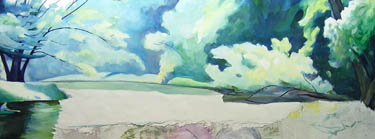
Giornate #13, 7-25-4
11:50, finished with slip intonaco coat with a 2" natural hair paint brush from the hardware store.
12:45, left side cut finished.
1:45, intonaco, first half intonaco finished.
3:45, the blank intonaco is finished in three hours. It's important to keep a constant consistency to your mortar as you move along. So there no fast changes next to each other.
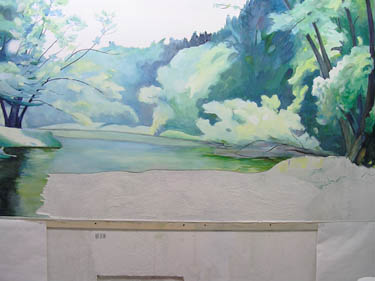 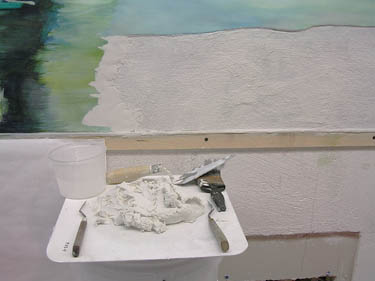
This is a long and skinny giornate, the beginning left side is hard to the touch while the just finished right side is malleable and soft.
5:15, finished with the hike brush, it puts down a lot of color. The 3/4 " bristle will move it around and change anything.
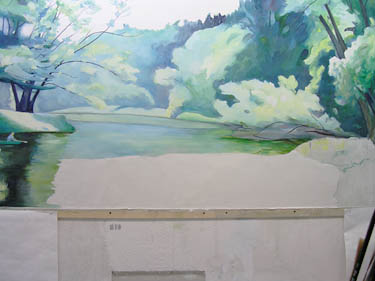 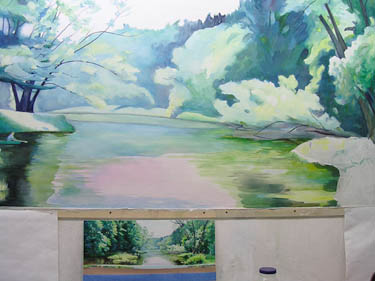
5:45, while painting I had the hike in one hand and the fitch in the other.
I took a half hour break to see how the color changes would go. Cleaned up the "over the cut" paint.
6:45, Finished, 45 minutes of bristle brush adding and changing. Than a little light troweling to smooth out the surface and Buon Giornate #13 is finished. The magenta sky reflection should lighten considerably when it's dry.
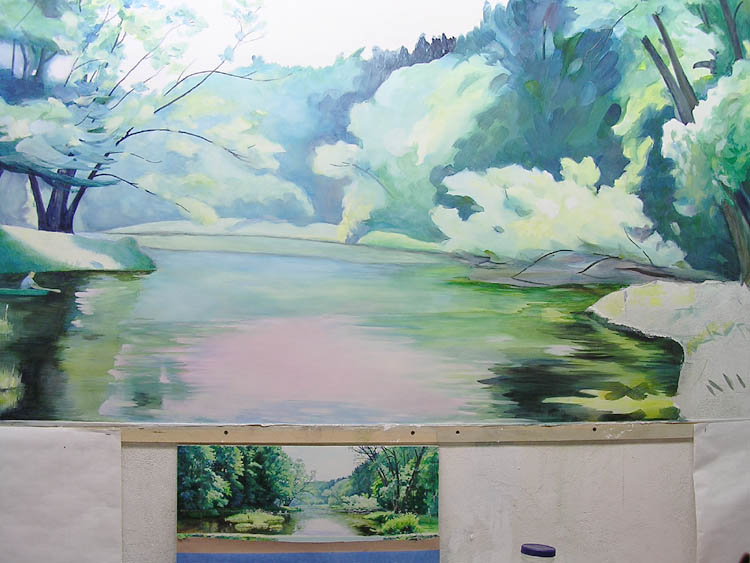
7-26-4, 10:00 AM, #13 didn't dry much lighter, I will have to lighten it with secco lime. So.. while I'm at it, I might as well sandpaper down the cut line and make the two joining gornatas perfectly even. I hope that's the right term. I did that and repainted the sky's reflection. I'm sure it will take the rest of the day what with it changing color when it's dry and all. The sky's reflection does have to be darker than the sky, darker, not a more intense color darker, but a darker to neutral. After all, it's not being reflected off a mirror. I want back and scraped down half of Giornate #9 and re-did it.
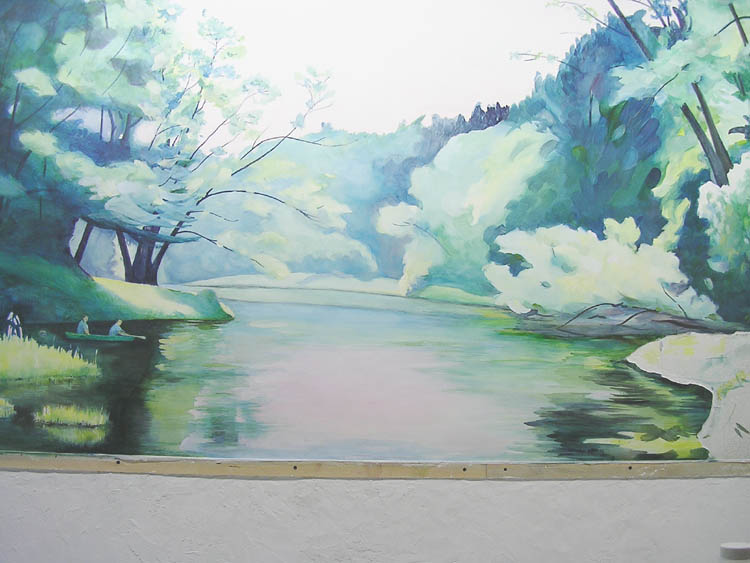
August 1st, 2004
Giornate #15, the last giornate, right on schedule. I leave NY in fifteen days. I want to spend my last week on the East Coast with my mom.
I still have to make shipping boxes and re-pack. That will take the rest of this week. I hope I can get 1 or 2 small frescoes painted too at night.
TIP: Swiss Formula, St. Ives Collagin Elastin, advanced therapy lotion. If you handle lime, this handles your hands.
11 AM, start wetting down the wall.
Change my mind and removed half of Giornate #9, laid some brown coat on the base coat. The photos are in the Giornate #9 section, the previous page.
8-2-4, Giornate #15, 10:30 AM, brushed on some intonaco slip before adding the intonaco layer. It makes a better bond that way.
11:30, it took an hour to do this part smooth. I brushed the rest of the giornate with wet intonaco slip, that's loose intonaco mortar, that will keep the moisture even.
1:45 PM, finished laying the intonaco. It was very intricate along the edges.
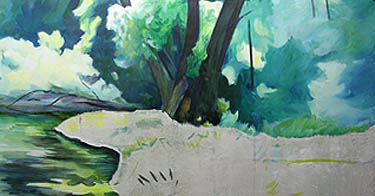 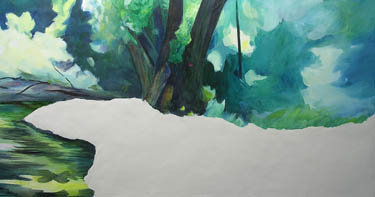
TIP: For a sharper edge, lean your trowel upwards toward the edge while you are leaving behind mortar. This will fill the void with pressure applied to the mortar and leave the cleaner edge.
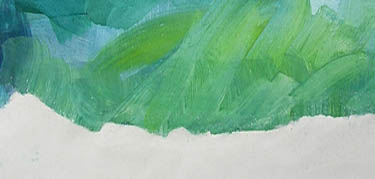 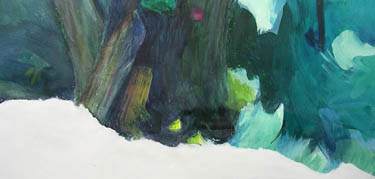
I won't start painting until it is firm to the touch. My palettes are ready, transparent yellow, magenta and cyan. Plus cadmium yellow light. Titanium white and lime paste are on the second smaller butcher tray.
2:30, painting.
3:00 First palette is now empty and used up. Photo at 3:20, 100% coverage and winding it up.
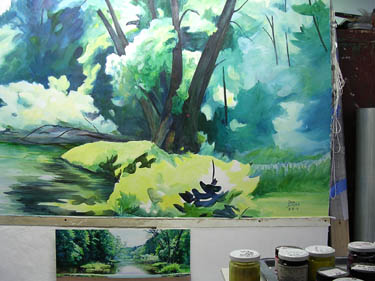 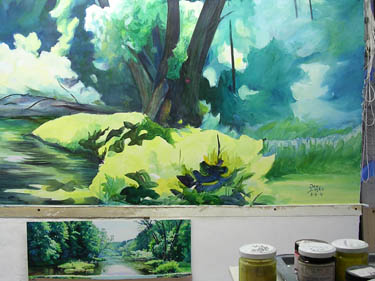
3:30, it's flying along, soaking up everything. That's a hour of painting. I feel like I just came of an E ticket ride.
4:30, added a dark stroke to the right bottom side of the weed clump. Last photo. I used my 1 inch oval ended soft wash Langnickle 6080 Nocturna synthetic brush for the whole giornate. The stiffer goat hair 1.5 inch hike was really good but it brings up fine sand that has to be troweled smooth, if it's painted in a touchable area.
I brought all my brushes back to great shape. In alcohol, soap and water, and collagen conditioner. Sometimes I have to clean using acetone or turpentine, depending on the medium.
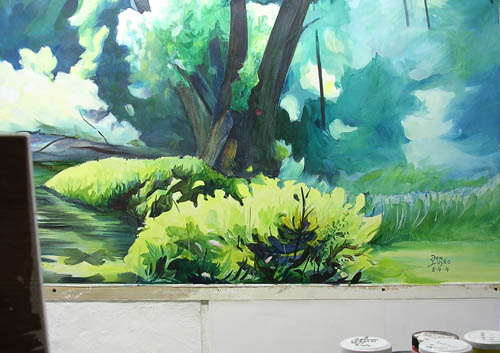
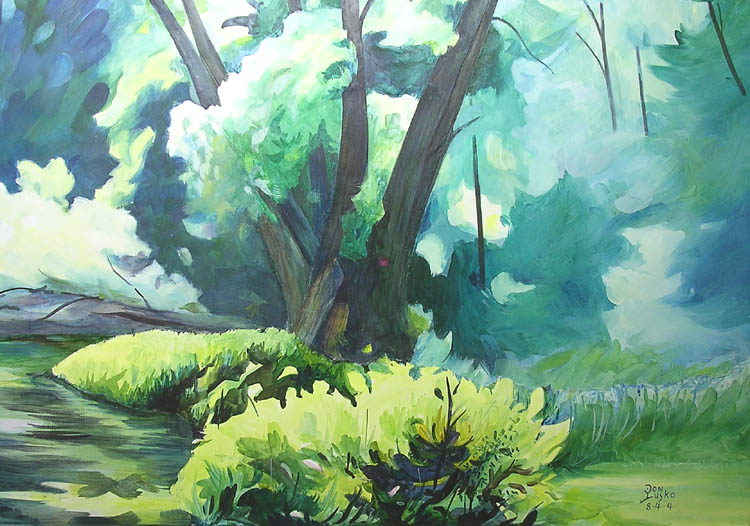
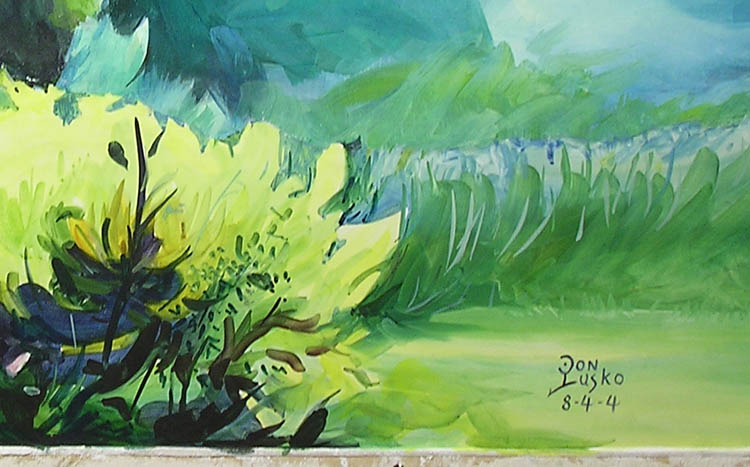
8-8-4. Back on giornate #5, I added a stroke of lime and titanium white on the set intonaco. Today I scrapped it off with a razor edge trowel. The crust had hardened enough to rub with fine sand paper if I wanted to.
I want to shoot pictures of the mural today, the new camera doesn't have a wide enough lens to do it in one shot so I'm going to have to splice them together.
Conclusions
Lime mortar is the best to paint on, add up to 50% cement to make a 100 times stronger mortar. 30% cement will make a mortar 5 times stronger. That's still fairly good if the mural is in a touchable area. Painting on cement and sand is still a fresco in that you can paint into the mortar. Cement should be sealed because it won't form the hard carbonate crust and become waterproof as lime mortar will.
Use good brushes and clean them in alcohol then soap and water each day.
Re-grind your pigments on the palette just before use, especially synthetics, they are already small particles but tend to clump..
The Real Color Wheel works in all media.
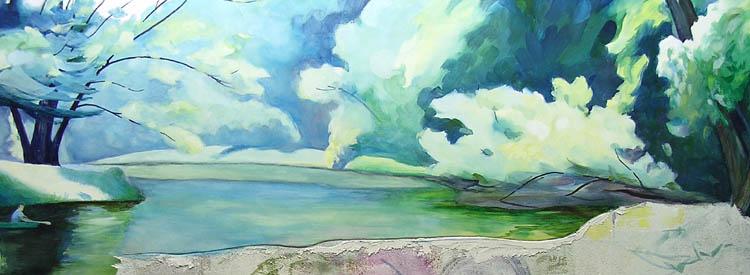
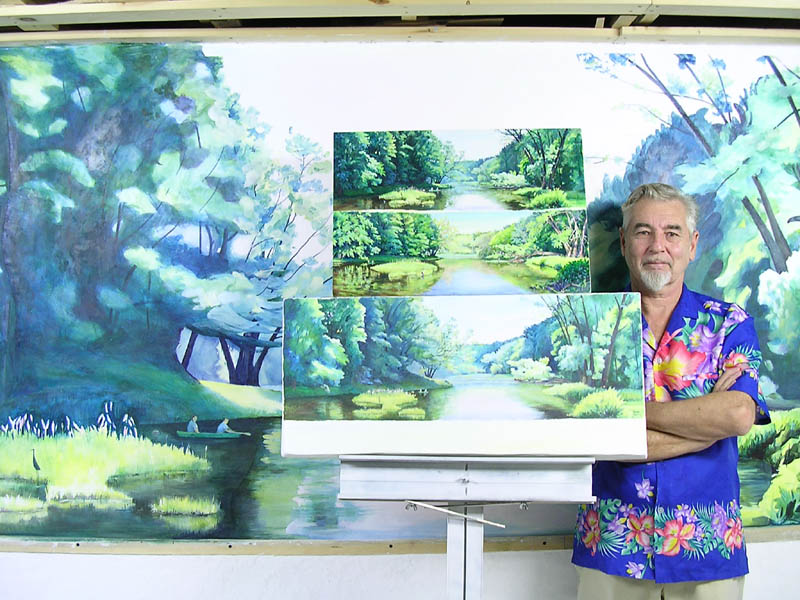
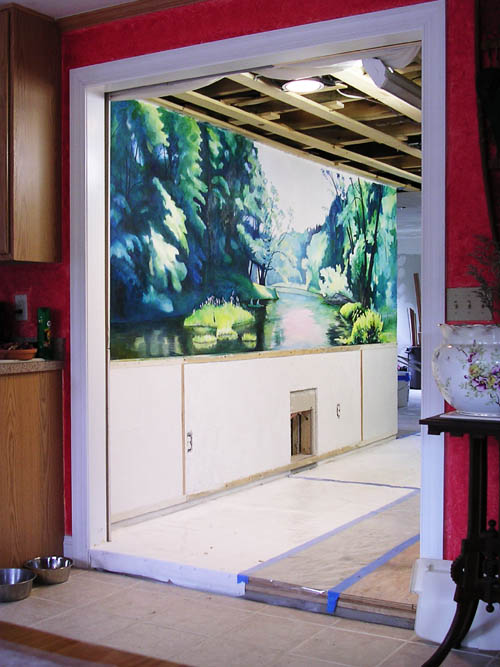
This is the 82x155 Little Salmon River Fresco Wall Mural, it took three photos to capture it form one end to the other.

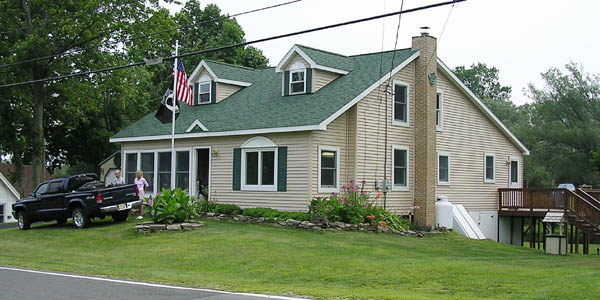
That's John Loyer and his wife Audrey standing outside their
beautiful house in Texas, Mexico, Upper New York.
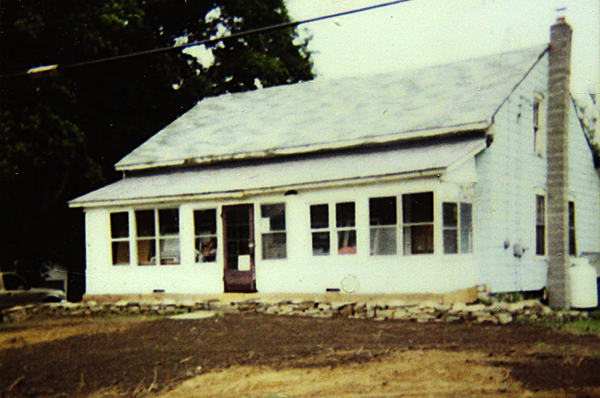
Here is the before shot.
|


