
 |
| Day 1, 8-6-6, Don
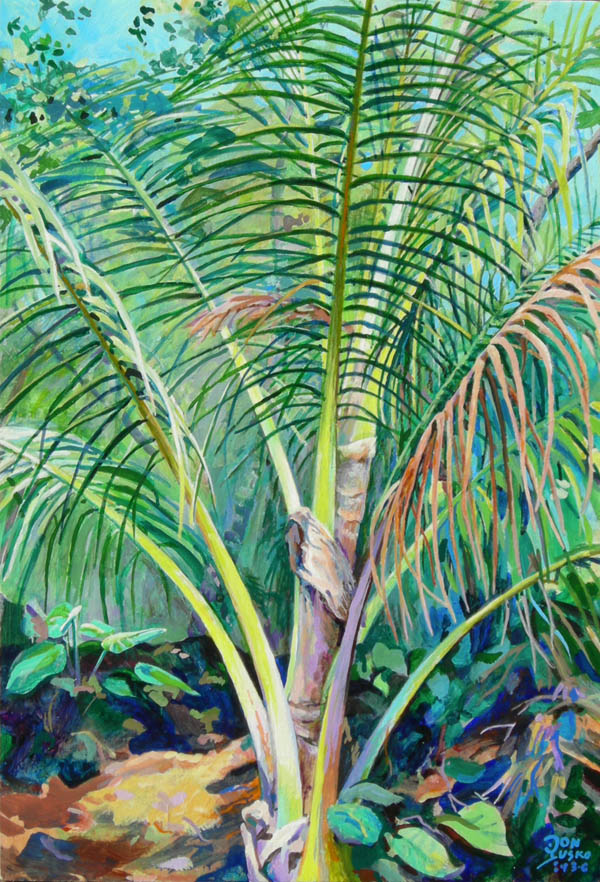
I have been working with my plotter/printer for the last 8 months, printing giclees of my work. In that time I painted 3 paintings, Nahiku, Tom's Backyard. and one fresco with the head of the Fresco Society, Anita Rodriguez-Wikelin. And another acrylic, Jacaranda Tree in Kula.
 |
Day 2, Painting is like tennis, when you're hot just taking off a day shows. Three days off and it takes three days on to get you to the top again.
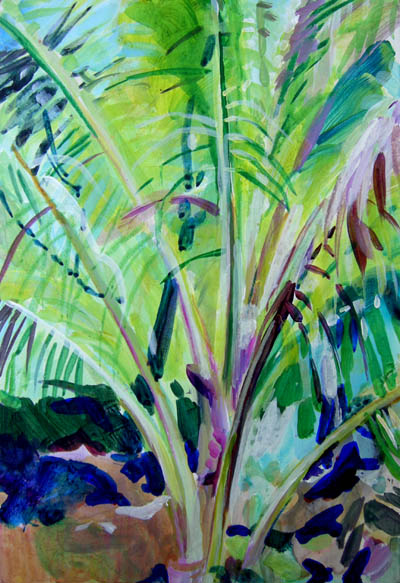
After yesterdays mess I grabbed a brush. Yesterday I was foolish enough to think I could do a one in the morning and another in the afternoon. That's it, finish both of them in a day. Well, that was a mistake I won't make again for a while...
 |
|
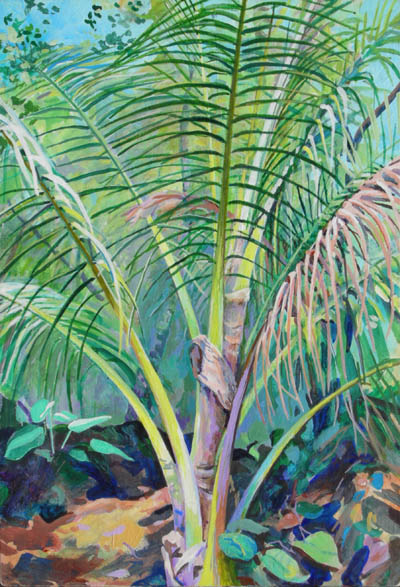
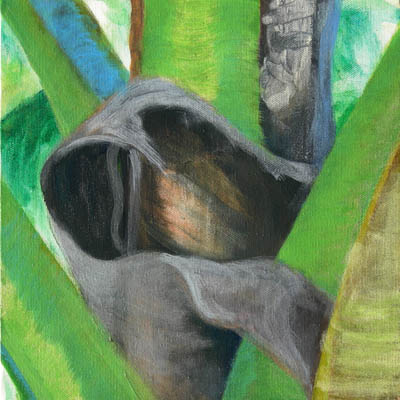
That's a lot of time away from painting. You get rusty and forget the tricks and logical orders of painting. I've always said my paintings were a collection of my mistakes. Well I made some big one's right at the start of this one. First I thought I'd paint without the easel. Mistake #1. My mind went back to a time when I was really fast. I would paint this painting with my fingers! Mistake #2. I picked a subject that was way to complicated for that technique. Mistake #3, I didn't triangulate three obvious points in the view to dots on my canvas. #4, No center line. #5, No horizon line. #6 I didn't mark with a detail the right and left sides of the canvas matching the view. I took this quote below from my Color Course's main page. PLACING_THE_IMAGE Position your painting support directly below the scene, so the top of the painting is touching the bottom of the scene. Draw in a chalk center line and the horizon line. Next find the center of the image. Mark the sides of the image with reference points. Measure with only one eye, your right eye, and keep your head at the same relative position to the painting throughout. Don't paint a picture of more than 90 degrees without two center lines because you will have to move your head from side to side to see the whole scene. Most paintings should be in the 60 degree area, you have that much undistorted overlapping vision. Compose the picture from what you see, if it's not perfect composition, MOVE. The horizon viewed at sea level with both eyes will appear flat because your focus with both eyes is on one point, shared by the view of both eyes and you have compensated it flat. You can't do that at higher elevations, the curve is too evident. At sea level the horizon line is 2 1/2 miles away, at 10,000 foot it's 200 miles away. Both eyes can see a total of 180 degrees, they are angled in your head, not both facing forward. Each eye is angled off the frontal plane by 30 degrees, the overlapping view is 90 degrees, the least amount of distortion is in the center 60 degrees. Each eye can see 135 degrees, each eye can see 45 degrees that the other eye can't. The overlap of both eyes is 90 degrees, 90+45+45=180, your total view is 180 degrees. The horizon line is curved, the higher your elevation the more the curve is noticeable. Astronauts see a sphere. A MARKING POINT in the picture is an easily recognized still object or a crossing of objects, or a tangent meeting point of objects, they are easy to find at a glance. Find a marking point on the center line close to the horizon line as your center marker. This center mark can be on any distance away from you, on any concentric ring around you. This is linial triangulation. Find left and right side scene marker points also close to the horizon line. The top marking point will complete the format of the final painting because the bottom is marked by the top of your picture. Distant objects are relative to nearby objects from your viewpoint through "lineal triangulation". Start by making at least two triangles using obvious marker points joining and starting from one common marker point. Two more triangle marking points anywhere in the picture will connect to one of the existing points forming another lineal triangle, if you're using different lineal distanced marker points in more than one concentric ring. If you used objects on a similar "concentric ring", you would have "plane triangulation", they work equally well. These triangles will insure the accuracy of the objects position. |
| Day 3,
TIPS: "May 5th, Mikes Jacaranda, acrylic, notes. 50% rainy day, "The best strokes during the rain."
The WindBrella is a very good umbrella. I use a 30"x1/2" re-bar pounded into the ground and slide the umbrella tube on it. I like to paint in the shade.
 |
Day 4,
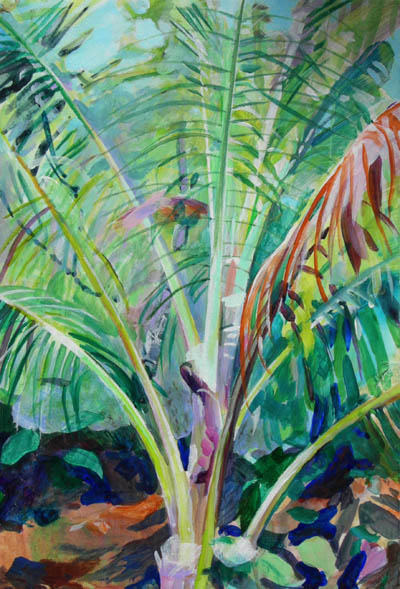
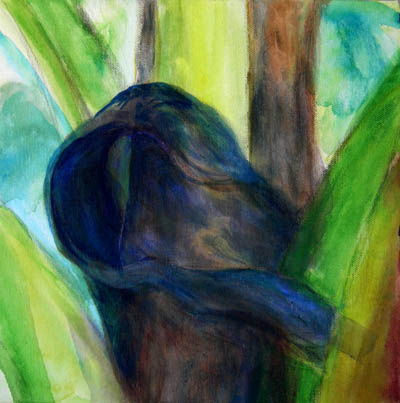
I'm simplifying the background, defining the outline edges of each object so it has contrast without any lines. Tomorrow will be an important day, I have whited out areas that will get new color, The painting's color is from 8AM to 11AM. I wasn't sure of that until yesterday. I had to take out all the oranges from the afternoon light. The yellows are all paler and the shadows have more blue in them. The main color complement set in the morning is yellow and blue.
 |
|
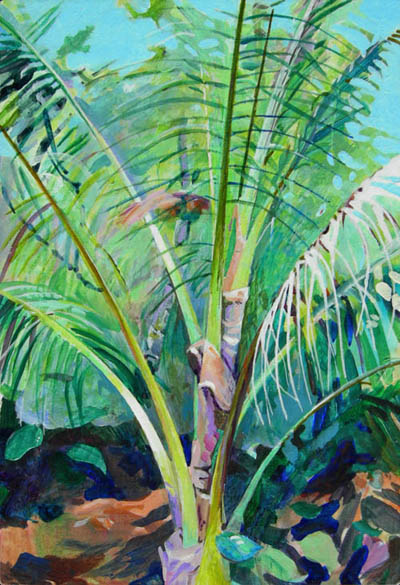
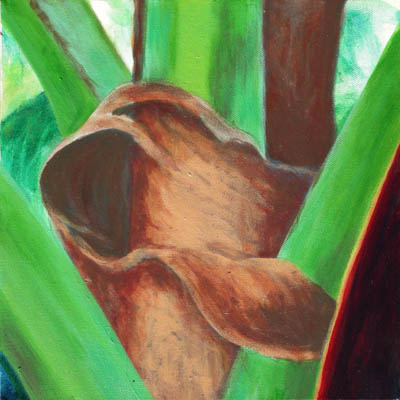
Day 6, I tightened up all the edges and evened out the background colors.
 |
Day 7, this is the day I finish.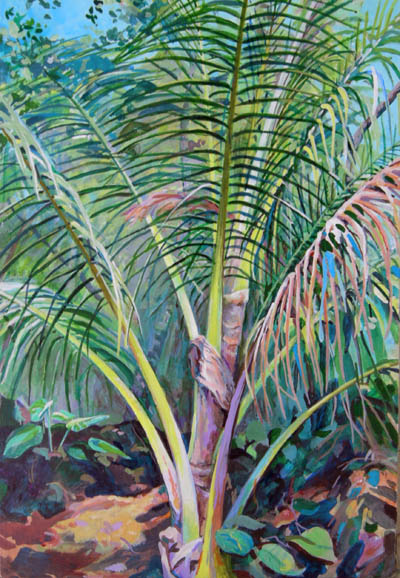 |
|
|
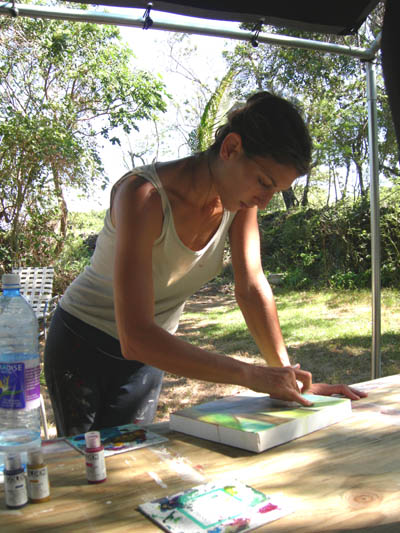
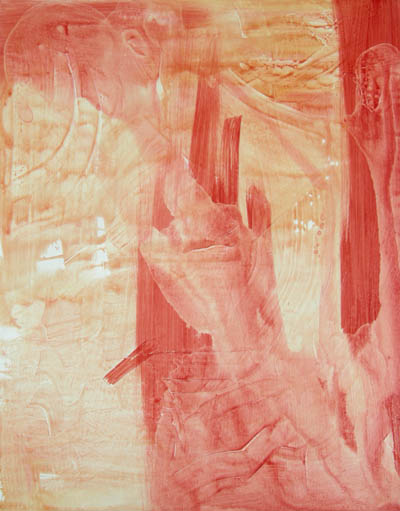
Laurin Drever was painting with me, with her fingers.
Laurin thought it would be fun painting with her fingers too. She had much better luck with the subject she choose, it was simple and didn't move. With the high wind here in Villa Tamarinda, Kaupo that was a smart choice. She is using the new set of Golden Acrylic's fluid primaries. A new and very good choice.
 |
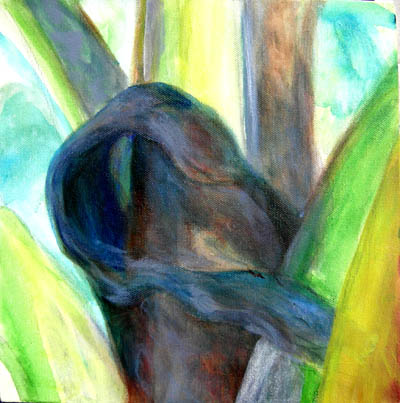
Laurin Day 1,
Golden Acrylics, Indian Yellow Hue golden/side transparent. Nickel Complex Azo PY150 (same as PY153), with Quinacridone PR206 and Arylide yellow PY73.
 |
| Day 2, Laurin
 |
Day 3, Laurin
 |
NEXT, BRUSHES, Kalish, Best new w/c brush, short chisel sable, Series 8B, brusheskalish.htm
PREVIOUS PAINTING, Jacaranda Season #953, 2009, 15x22 acrylic, jacaranda2009lowerkula.htm
MORE FROM PIERO'S VILLA TAMARINDA IN KAUPO
END PAGE Last Painting w/tips
|
|