|
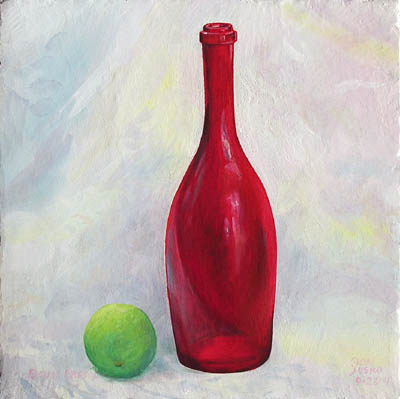
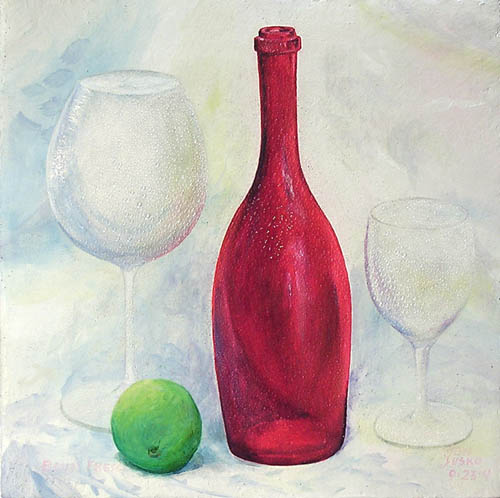
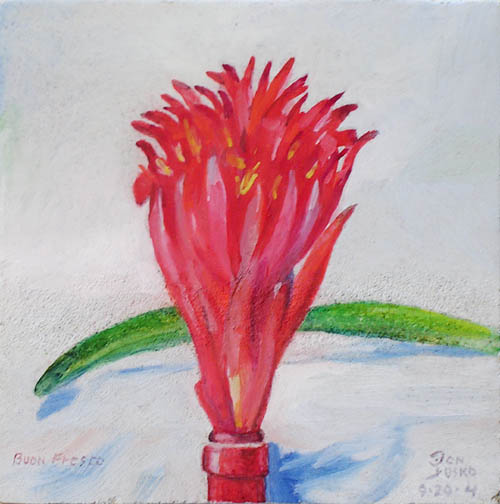
The first image is the buon fresco completed on the previous page. The background, red bottle, lime and large goblet are buon fresco. The added small wine glass is just cera colla. Cara cola has a very matt finish before buffing. Cera colla and turpentine will shine with just your brush while you're applying it. It's hard to believe how easily the shine is applied, and how high it buffs up. It shines like a gloss ceramic glaze. I can see why cera colla was a very popular medium for a long time. I can also trowel on wax and pigment to build up areas. I have been keeping the emulsion balance to the turpentine side on the big goblet and water ammonia on the small glass. All this work was done after the first photo.
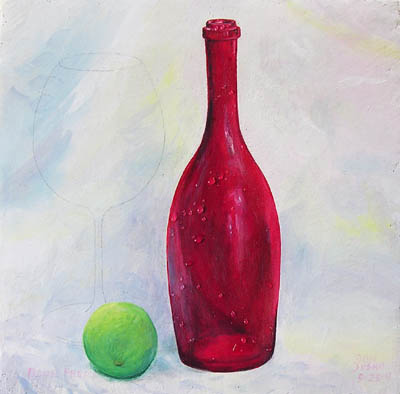
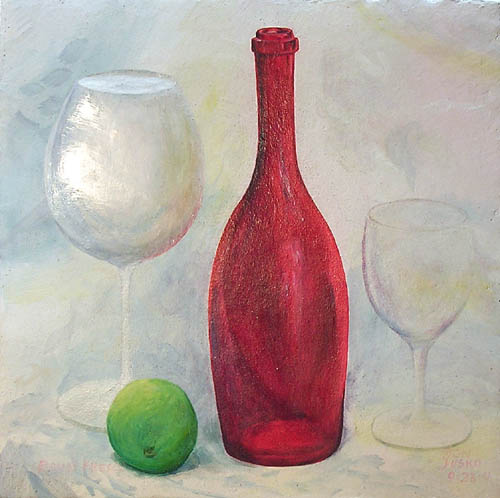
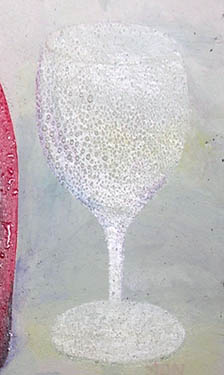
TIP: Add paint with ammonia, remove paint with water. I also want to try repairing. I drew another glass on the left with pencil, it erases very easily off the fresco and nothing moves. It was washed this morning and all colors had absorbed beautifully. I cut out the new big glass outline and laid new intonaco, shaping it in bas relief. Cadmium red would not have given me this warm brilliance in the Red Bottle. Thioindigoid red, PR88 (same as Grumbacher Red) is the better choice in all media for a red light hue I think. I think it's the smaller pigment particle size that I like better. Red at It's perfect hue is in my opinion, Irgazine Red PR254.
Just for information, Venetian Red Oxide is RCW#7.5.5 opaque, Burnt Umber is RCW#7.10.5 translucent. This is the way red gets dark in crystals also. The Crystal color chart and a crystal supplier, Top Rocks. Two days later I decided to do more to this buon fresco with a little secco. Gloss the bottle with Cera Cola, (go here to make it) and make it shiny with this bees wax water based medium, then add a glass painted in cera colla with pigment, also in secco which is done after the fresco has dried.
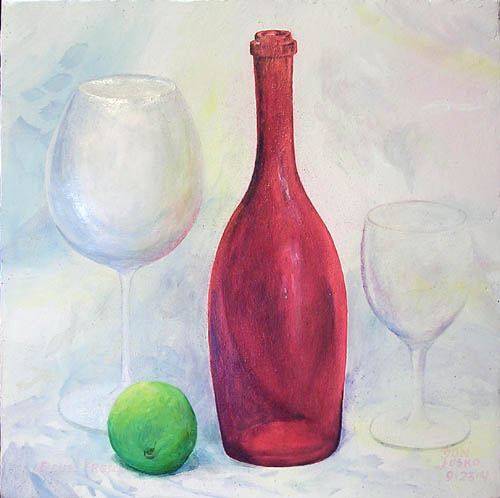
9-25-0. The glass is drawn in, the wine bottle got it's first coat of cera colla. In the morning I'll soak it and start chipping away at the glass area of the intonaco. The applied cera colla media looks milky tonight.
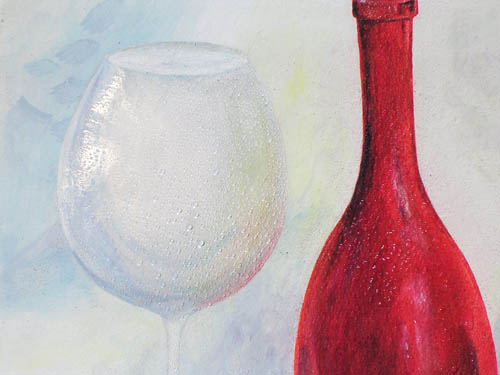
I shot the picture, soaked the panel and started removing the old intonaco area for the new glass goblet. Lime hardens from the top and this one is already getting a hard crust that has a slight sheen. Under the crust the mortar is easy to remove. The first picture is the buon fresco. The second shows the glass pencil drawing and water beading on the cera colla.
9-27-4, 9:00, started by submerging the tile a 1/2 hour while making a new intonaco of 1:1 lime and crushed white marble. A moist skim milk coat was applied with a bristle brush to get good adhesion to the layer below. 11:28. Finished laying glass giornate. The thickest part of the glass bass-relief is 1/8 inch higher than the original intonaco. I applied enough pressure to decrease the amount of still watery lime in the mortar. This top watery slip should be removed. The longer you wait before adding pressure the less slip will come to the surface. The picture below shows the cut-out giornate down to the brown coat in full sunlight with no reflection off the bottle. Than the loose intonaco milk-slip coat was applied with a bristle brush.
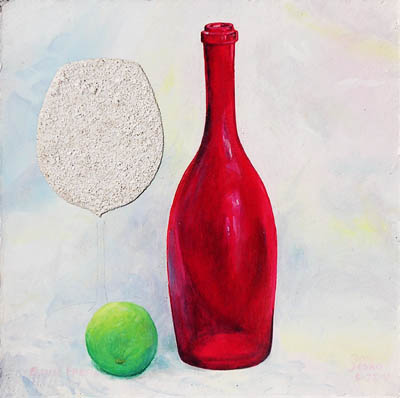
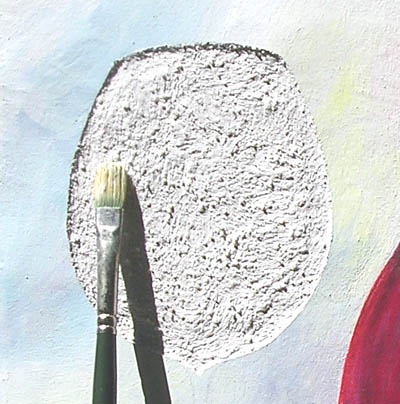
12:24. Finished painting the large wine glass giornate. 4:00. I Re-pressed, re-troweled over the glass area, I pressed so hard the mortar's gloss is shinier than the wax on the bottle. This is the glossy fresco of old. It will still accept pigment after the hard glossy pressing. It's like you have backed-up and re-set the mortar. It works for painting on it the next day also, I'm proving this in the test below. A damp sponge instead of a trowel will do the job but leaves a rougher surface. What's happening is the harder calcium carbonate is being either absorbed below by pressure or removed from the top with water. Laid intonaco can stay untouched for a long time because the crust holds in moisture. At the bottom of this page is last night's test on this subject. Bass-relief goblet, cera colla small wine glass. 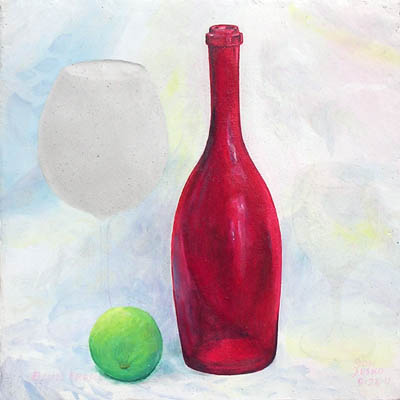
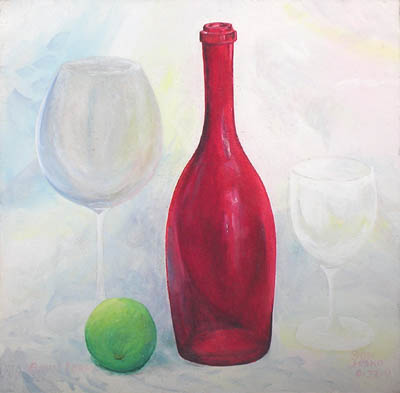
Goblet, Red Bottle, Lime and Small Wine Glass painted in shiny Cera Colla.The large stem and small glass are cera colla and pigment on buon fresco. Only the lime and background are free of glossy cera colla.
It's in the way the light shines on it from different angles that make the rounded goblet look 3- dimensional.
Cera colla is decorative and protective against dirt, water and mold, that's great for bathroom frescos.
Look how the water beads and how reflecting light can make the small glass stand out.
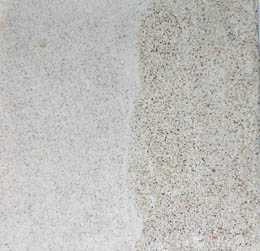
12:00. I laid intonaco on an 8"x8" tile using 2:1, 2 sm. sand and white crushed limestone to 1 lime, one layer only. Tile, with it's fired gloss on the bottom and sides holds water very well.
9-29-4, 10:00 AM. You can see the different darker side pressed side. I'm going to wet the tile, wipe off the crust and the top layer of lime off the untouched side. Then press it to bring up some lime back to the surface again. I left a wiped off area to compare both pressed sides. All three sections are ready to paint but the quality of the finished surface is different. 
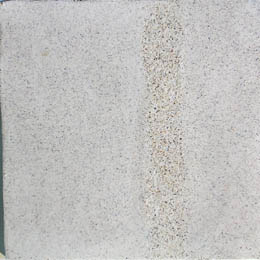 10:30 to 11:40 painting the flower and leaf. The painting goes right through the unpressed stripe. Just now I used a painting knife to press the leaf flat and edges of the flower petals.
 10-1-4. The little fresco did fine, no cracks. I washed and scrubbed it under water, all colors have absorbed and nothing moved. |
NEXT FRESCO, #39,
Five Bromeliads, Two Lillaquoi
PREVIOUS FRESCO #37,
Odd Fruits, Yellow Lilies, Brass Urn
PREVIOUS PAINTING, Miniature Water Colors
Jump to Cera Colla
Learn to Make and Use Cera Colla, a water-based wax paint