|
by Donald A. Jusko Fresco Bas-relief, Half-size Bella, #19 |
|
While I was doing the small frescos on location I was also starting this fresco.
I've always liked little angles better than battle scenes..
| and big girls better than horses.
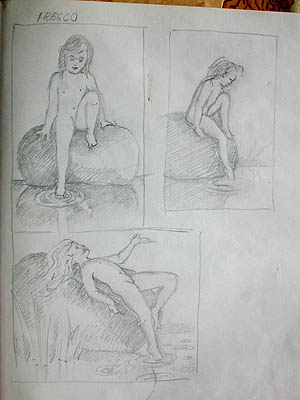
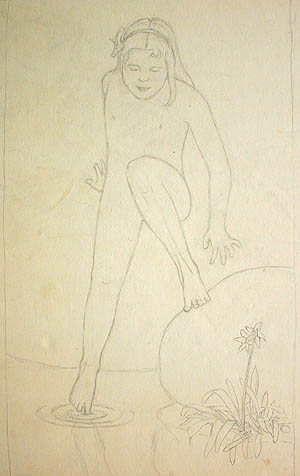
I thought this pose as a glass would be the one but I liked the next thumbnail better.
|
|
|
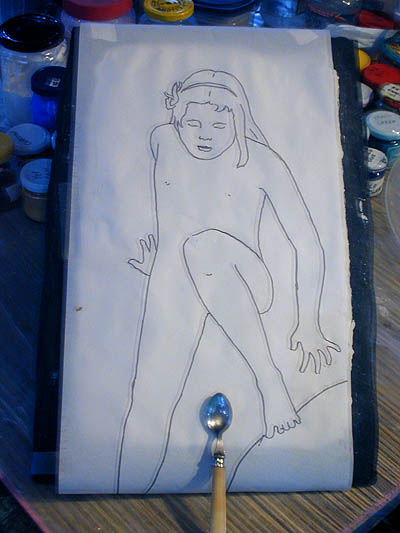
On tracing paper I transferred the drawing into ink. Next I will grid it for the full size mural image. 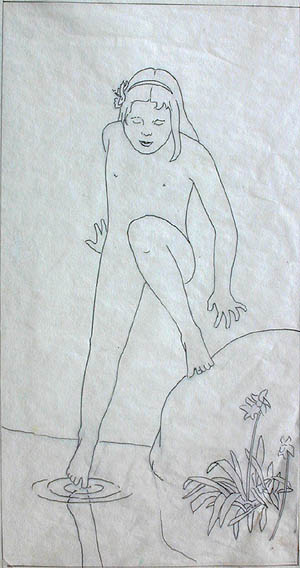
|
|
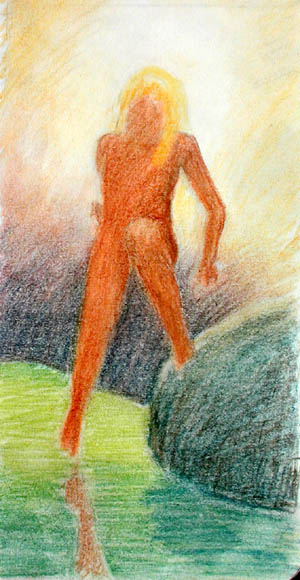
A color plan is needed of course, frescos are like that because of the time frame involved. One needs to have the complete finished image in mind. I dreamed of this warm color scheme last night.
|
A cooler version might look better so I did this cool one also. Light red in opposition to cyan. I know the top shoulder outline won't be dark like this pencil line and the water will have to be cooler in the foreground. 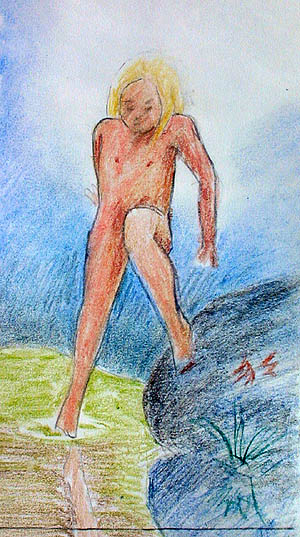
|
| I cut a hole near the top to hang it flush to the wall with a 1/4 inch bolt.
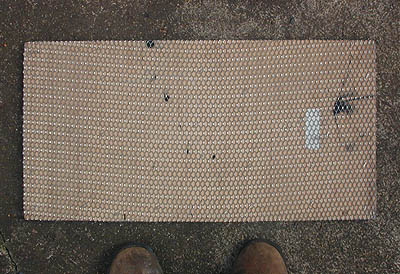
This is the ELM metal lathe, stainless steel stapled on 1/2 plywood. It will be used for the Little Bella fresco.
|
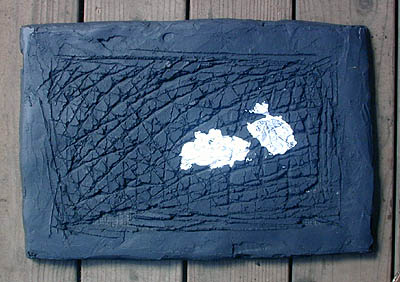
This is my test board for the detail fresco, covered with lime plaster with black pigment added to it.
The panel was scribed to hold the next coat of plaster 1:1 sand and pit lime. I will leave a decorative boarder of black like Steve did on the PoL forum.
|
I noticed the lime I got from Florence is whiter than the lime I slaked.
I ordered some zinc and titanium white.

|
Little Bella Detail Fresco
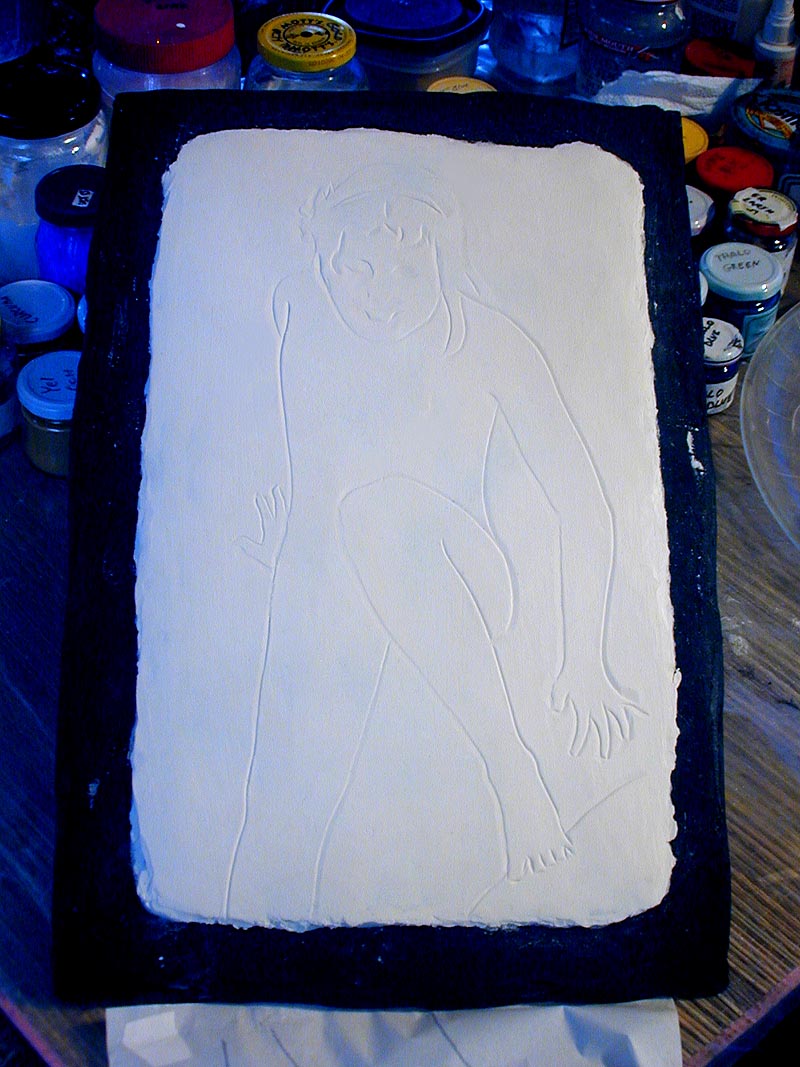
Jan 5th, 2004 Here is the practice detail fresco of Little Bella on the black background support, the one before the main one. The rigid support under the black mortar is cement board. The faint off center line is the shadow of the spoon pressed outline through the tracing paper. That's the spoon I used to cut in the outline. Don't use a silver spoon, it leaves silver marks like silver point.
Here is the spoon pressed bas-relief outline, I like the technique. If you do use a small wheel hole maker or a pin, do it from behind so the pricked holes don't leave marks in the mortar when you pounce.
Now to apply the paint... Grind up the pigment in water. Chemical colors are a lot harder to make, it takes oxgal to make them form the paint but alcohol is better. I set the palette up matching my color wheel. Ocher's and umber's under yellow, sienna under orange and red oxide under red, white in the middle.
Always have your brush with lime water in it, not just plain water which will make a weaker binding medium. Wash all the pigment out of the brush in water, squeeze the water out and dip it back in limewater. By grinding in plain water you get to use today's paint tomorrow by regrinding it. Always have plenty of clean water at hand. The mortar absorbs quickly at first, then it gets slower. Keep the pigment thin, like chocolate milk. Adding a coat of pigment at a time. Don't break the skin of the mortar by scrubbing or burnishing with too much pressure. Because I have marked the lines with a spoon I could add even more to the bas-relief effect by smoothing down one side of the line. And because it is raining here day and night I will be able to model the surface and paint for days. I can even build the layer up to add form or change colors with 1:1 lime and marble meal which brings me back to the original surface, white. Pit lime by itself is weak and shrinks, it will crack even on a wet under coat. I started laying on paint last night and am getting a full day in today. It's raining and I'm outside. When the mortar has lost it's wet gloss is the time to paint. I learned to keep a bowl of vinegar at hand to neutralize the lime I'm always getting on my hands. I've also heard the vinegar will remove calcium carbonate. By putting a good hunk of slaked lime in the middle of the palette at the start, the next day I can regrind it with my palette knife and have more of an opaque white pigment. Slake it a second and third time to make the better pigment. Last night's paint has set into the mortar and can't be moved, but new paint still absorbs readily. I rained last night. Applying the paint is just like watercolor painting on a paper without much sizing in it, except you can actually change the color with more layers. To make any color lighter, add the translucent wet pit lime or white pigment or dried and re-dried ground slaked pit lime. I heard an easy way to make the white lime pigment is to put some lime in a jar and change the water and shake every day for a week. The lighter mix of translucent pit lime will look about the same as the pigment used when it was applied but will dry lighter. Pit lime in thin layers is translucent while wet but opaque white when dry. By the third drying and grinding the pit lime is a nice fine white powder pigment. It's easier to buy it. I found out early on it's better to use titanium white so you can see the final color. I finished day one with six hours of painting and modeling in the rain, tonight I'll leave it out under rain protection to get the humidity and extend my painting time even more. If the lime had any clay or gypsum in it would have already set and been permanent in just an hour. Day 2,
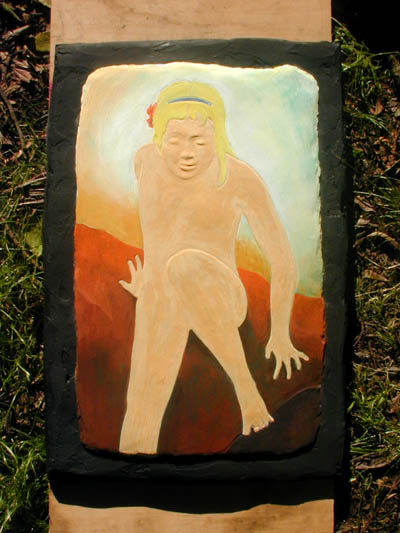
When the area was half dry I used my finger to smooth everything out. Tomorrow promises to be a sunny day and I will be out of town until late afternoon so I wrapped it in plastic... than I find out I could really smooth it out with the plastic over it. But the finger and lime water works like fine sandpaper, it moves the mortar around and it moves and smoothes pigments down as it does in pastels. I hope I don't end up with a secco instead of buon fresco, it never went 6 hours without a coat of limewash before. My next mural will have the surface perfect before I add any paint, and I'll keep it wet and pulling pigment into the fresco with a spray bottle of limewater. These are photos the morning of day three, Jan 8th, 2004, morning sunlight from the top and the bottom. There is no color modeling on the figure yet, that will have to be secco with lime water and egg yolk 1:1, plus alum to make it waterproof, and pigment. The colors on the figure should dry to one even color.
By Jan 9th the differences in the flesh tone was even more pronounced, I should have mixed the Cinabrese pigment with pure slaked lime. It looks like I'll have to sand and secco the whole figure. That took Day 3 just to sand it and remodel it.
|
|
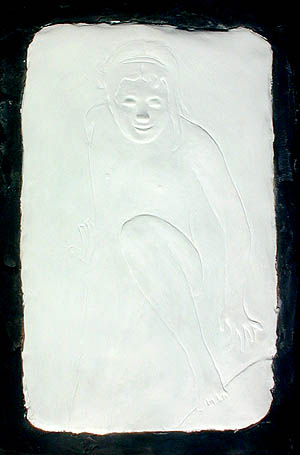
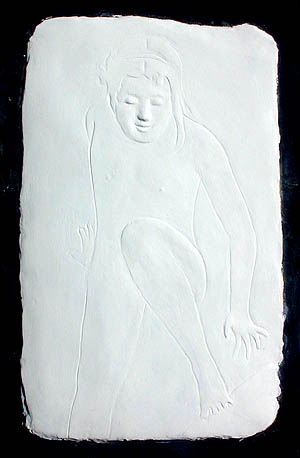
Here it is, remodeled. I'm going to make a mold and a limited edition fresco. If I get around to it. (2013, I never got around to it.)
|
Light from the bottom.
 |
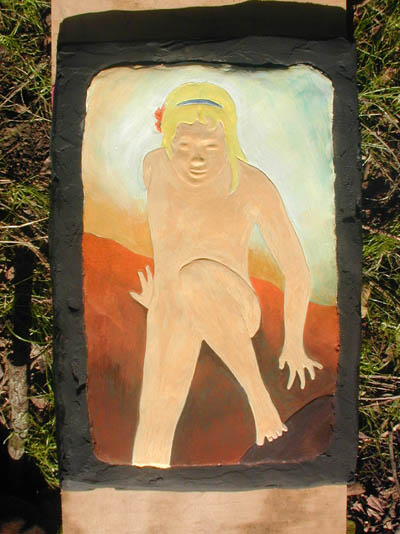
Light from the left.
 |
Light from the right.
 |
NEXT FRESCO PAGE #20, Full Size Bella Fresco
PREVIOUS FRESCO PAGE #18, fresco15travpalette, Travel Palette
FRESCO INDEX, Fresco Index
5"x5" Laminated Real Color Wheel $10.00.